header photo

Thursday, March 17, 2011

X Axis Works!

I managed to mount the stepper motor for the X axis and connect it to the lead screw with the flex couplings I got off eBay.


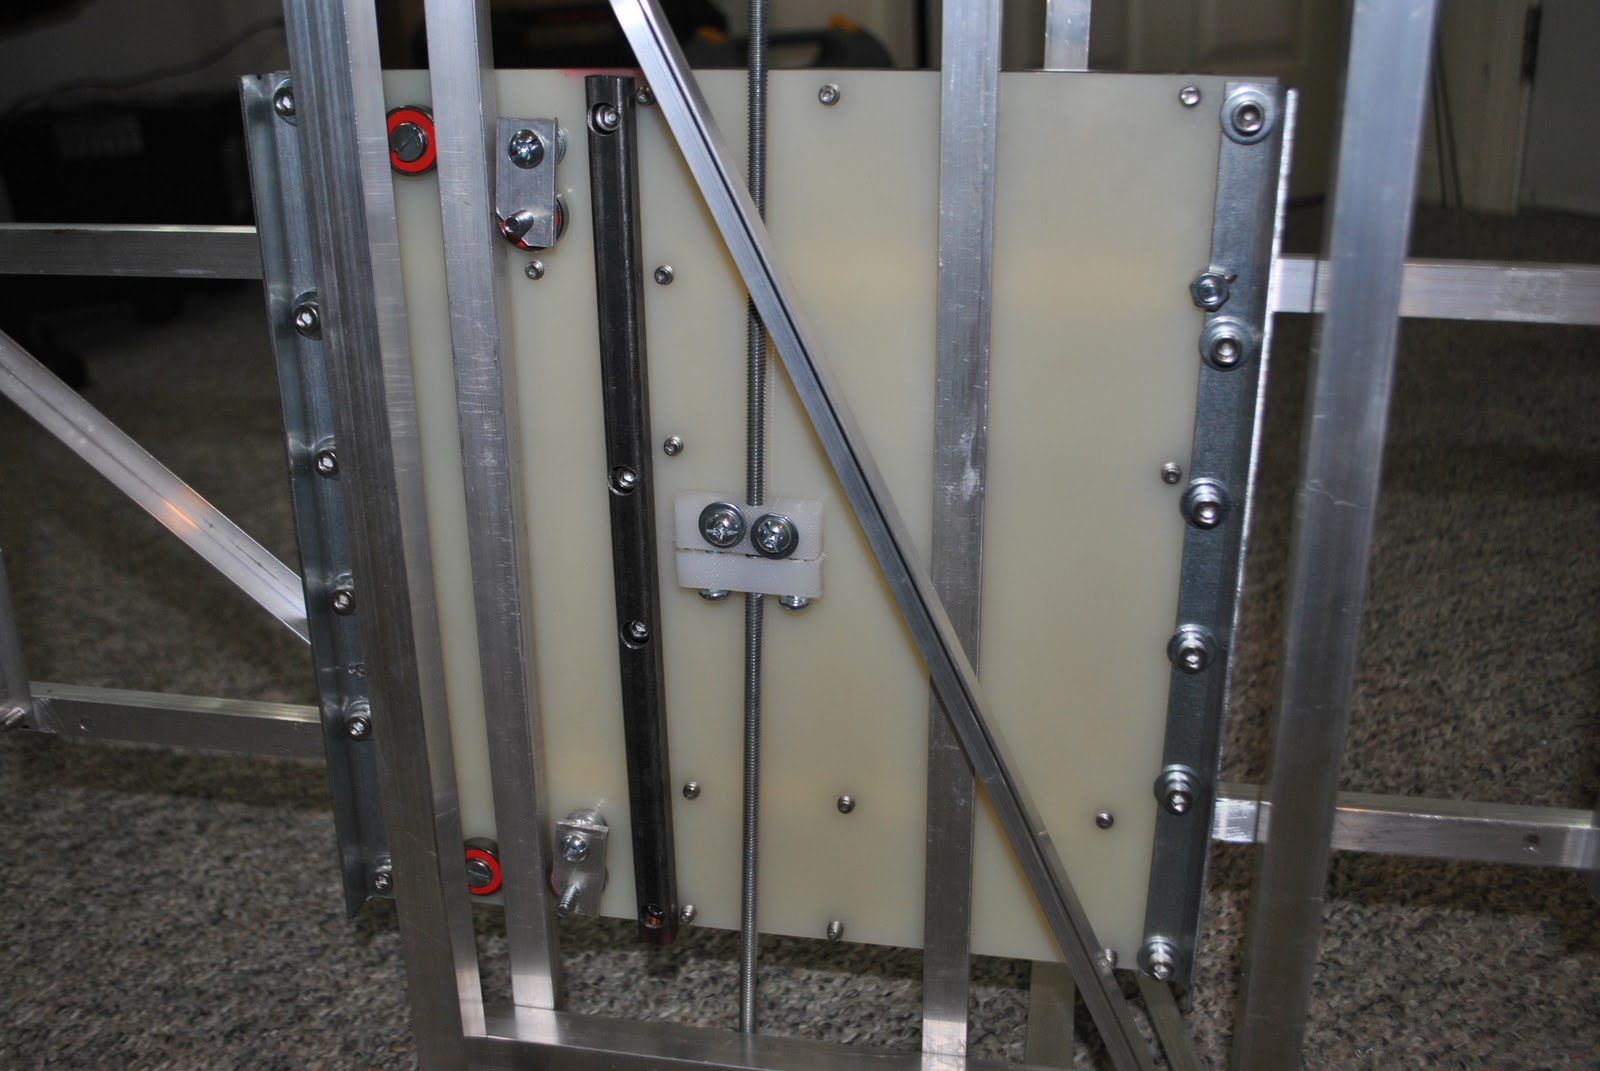
After running the X axis back and forth and running through the EMC2 default G-code, I realized that I am going to need bearings to keep the nylon sheet from lifting off the rails. So, I built two bearings.

Two bearings on the underside, catercorner to each other.

Same design as the other bearings.


I also started working on the Y-axis and once again, the nylon sheet is not flat so I have to add tubing to flatten the sheet.

Close up of Y-axis bearings

Sunday, March 6, 2011

Cronstruction Continued

I am slowly making progress in the construction of my CNC machine. I got two 12" x 12" x 1/4" thick nylon sheets from McMaster to use as the material to slide on the aluminum rails. It seems to slide fairly well. Unfortunately, The sheets I got were not flat. So I bolted steel tubing to flatten the sheets out. Luckily they were fairly square so I could use the edges to make sure the x and y rails are perfectly square.


Bearing Mounts
 I used a plastic cutting board to make mountsd for the bearings that support the lead screw. It seems to work well. I double nutted the screw to keep the nuts from loosening themselves.

 
Anti-Backlash Nut
I used cutting board material to make the nut. The nut is threaded in two sections which can then be tightened together once the lead screw is threaded through both sides. This allows me to adjust the nut. The tighter the screws, the less backlash however the friction increases. Finding the perfect balance will be a challenge.


Rail Bearings
The bearings are made from skateboard bearings with one side fixed (bolted into the nylon) while the other side is tightened into place. The bearings only ride on one rail because I can not guarantee that the two rails will be perfectly parallel.